Adding via the Extensions tab
You can add extensions to your browser profile directly from the profile settings, without interacting with the Chrome Web Store:- On the All Profiles page, click 3 dots on the profile you want to install the extension on, then click Settings
- Navigate to the Extensions tab
- Click Add extensions
- Search for the required extension using the search bar and click Install
- Don’t forget to hit Save to apply the change
Adding extensions to every new profile
If you know that you will need specific extensions on each of your profiles, you can click the Flag icon next to the extension to have it appear on every new profile.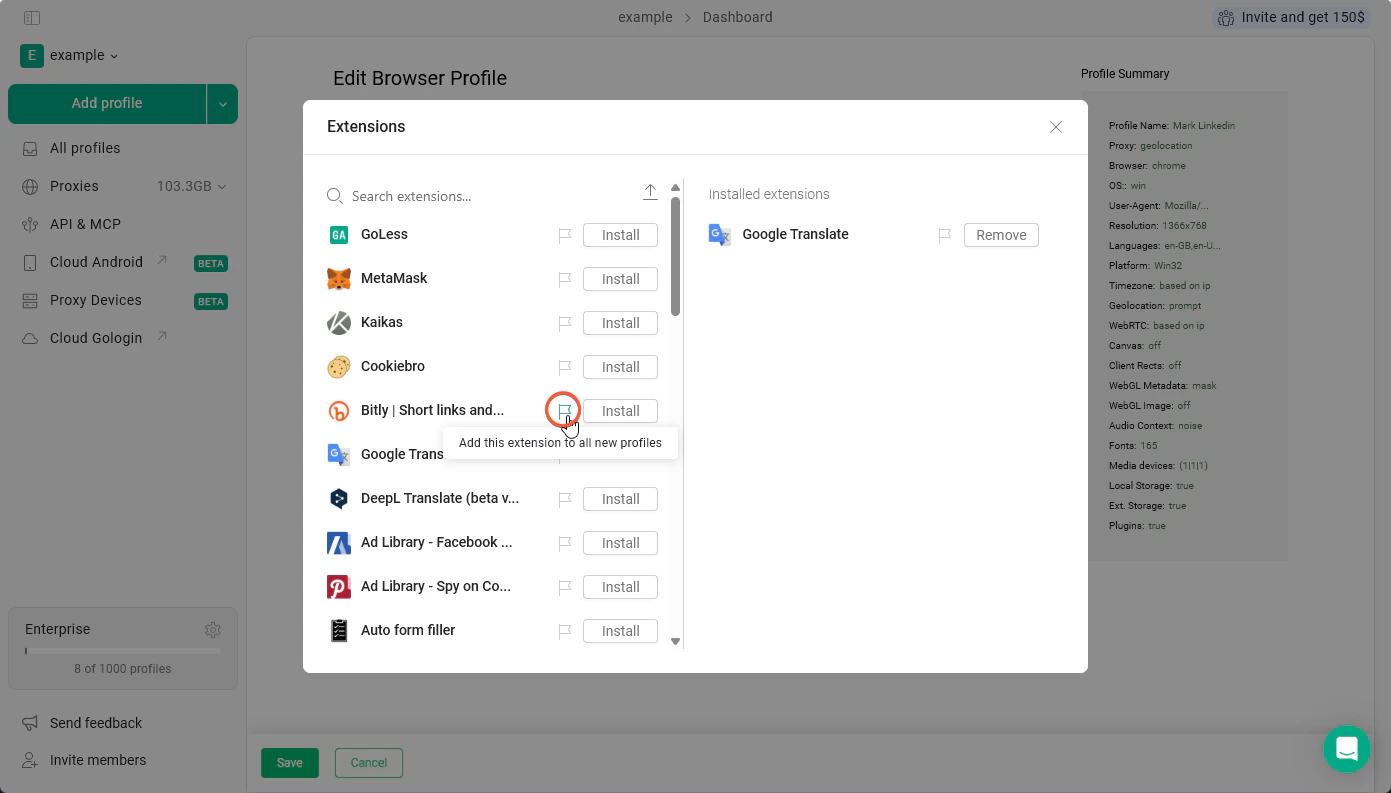
Such extensions won’t appear in the profiles you’ve already created. They’ll be added only to the profiles you create after the change.
Installing via the Chrome Web Store
In case you don’t find the extension in the Extensions tab of the profile settings, you can use the Chrome Web Store in the browser profile. To do this:- Launch the browser profile that needs a new extension
- Click 3 dots in the top-right > Extensions > Visit Chrome Web Store in the browser
- Find the needed extension
- Click Add to Chrome and wait for the installation process to finish
